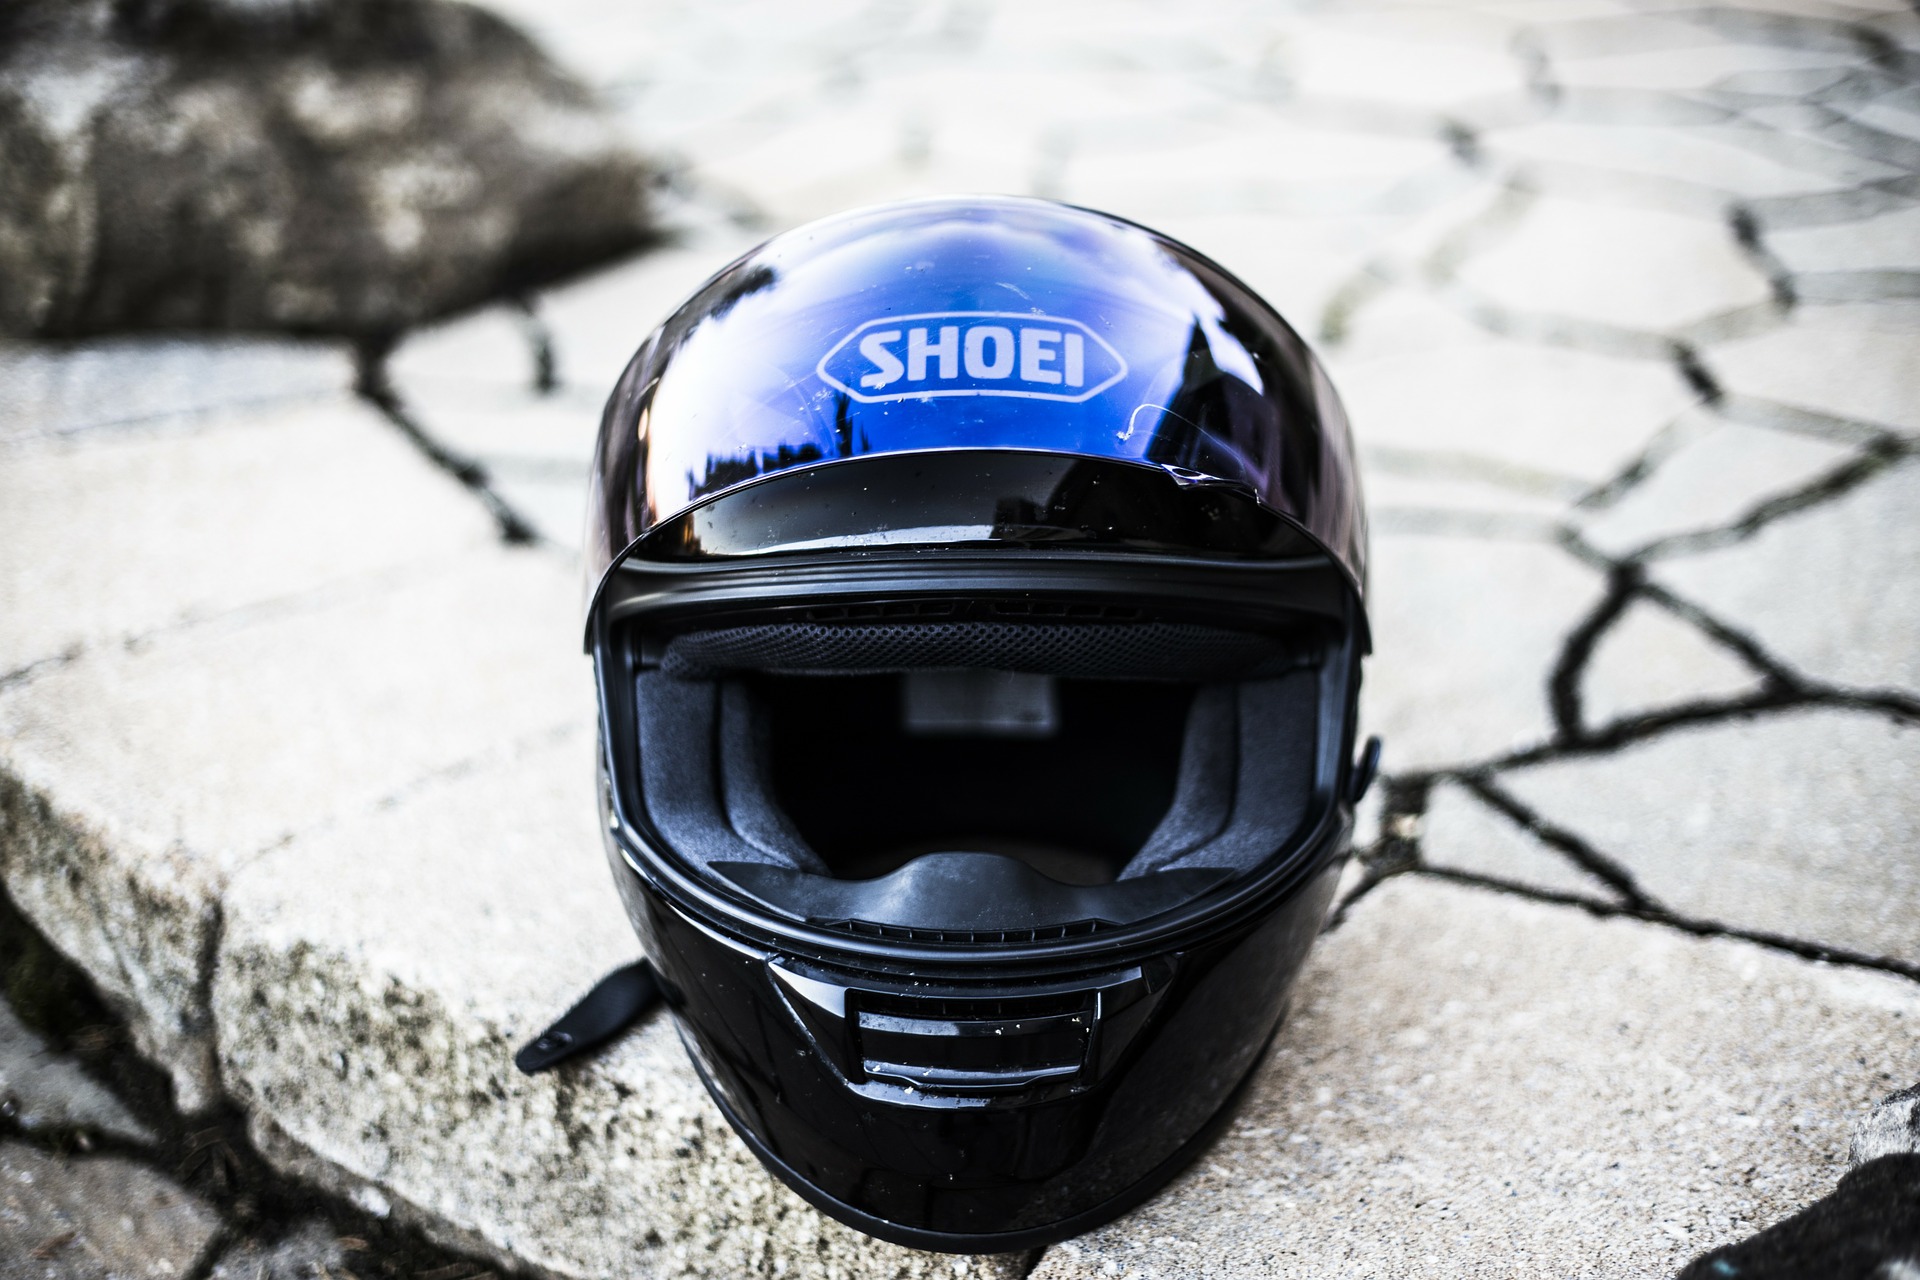
Motorcycle helmets are a must-have for any motorcyclist. They are both a legal and a safety requirement to have for a rider.
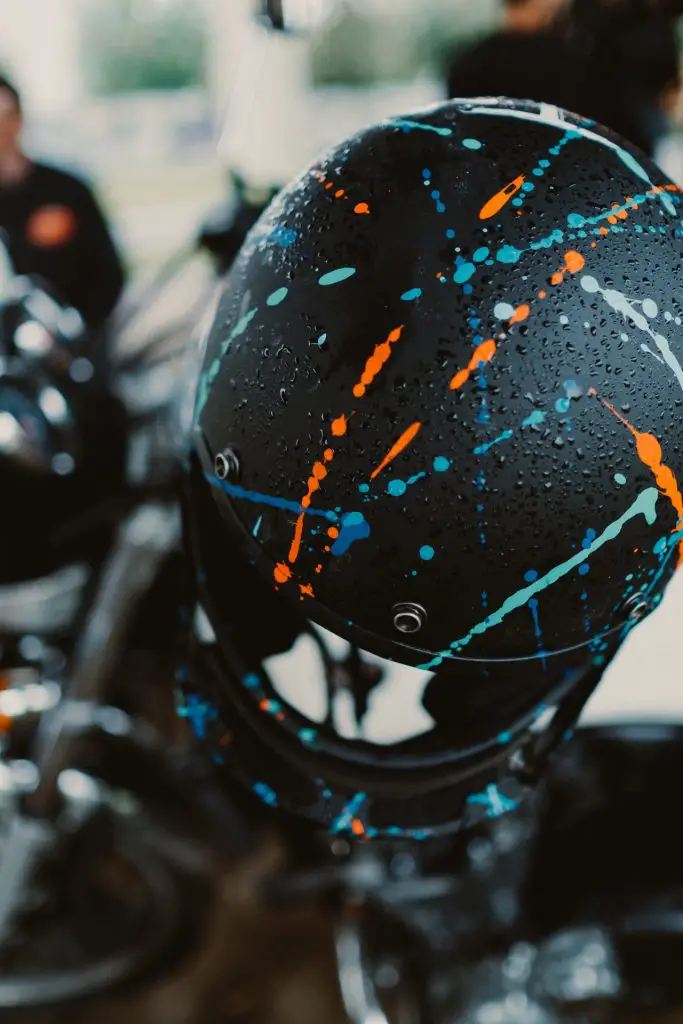
You can get helmets in many different designs. However, that shouldn’t stop you from customizing your helmet.
With the proper tools and methods, you can get a quality paint job on your headgear.
Quick Summary
By the end of this article, we will go through:
- How to paint your motorcycle helmet?
- Is it safe to paint over a motorcycle helmet?
Let’s take a look into it.
How Can You Paint Your Motorcycle Helmet?
As discussed earlier, it is not hard to customize your motorcycle helmets. You can get helmets with pre-made designs. But if you want to change it, all you need to do is know the proper method and the right tools. You can customize both the helmet and its accessories.
You will need some patience with the job as well as properly utilize your skills. Painting is not an easy job and you may require some practice before you get the perfect design.
It is allowed in many jurisdictions, however, there are legal guidelines and restrictions. You may be required to have DOT stickers on your helmet. Keep this in mind when you start making the design.
Tools you will need
When you start to paint, be sure that you have the following equipment:
- A picture for reference and a stencil
- Airbrush or spray gun
- Primer
- Matte spray paint
- Masking tape
- 400 grit sandpaper
- Gloves
After you have ensured this material, you can start the job:
Step # 1 – Clean your equipment
The first thing you need to do before you start is to clean your headgear. You don’t want to paint over a dust-covered surface.
This will affect your finish quality. We recommend that you put on latex gloves as you don’t want to stain your headgear.
If there are any stickers, you can just peel them off without any kind of issues. But if you face any issues, just use a hairdryer to heat the sticker. It will melt the adhesive, after which you can just remove the sticker.
You also have to remove the grease. Then, see if the base of the helmet is in good shape. As long as the base is intact, you can paint over it multiple times.
Step # 2 – Dismantle your Helmet
After you have cleaned your headgear, you can move to dismantle it. Use a screwdriver for this purpose.
First, you need to get the removable parts apart. These parts are the screws, visor, and chin strap.
After this, you can remove the inner lining of the helmet. If you are unable to completely remove the lining, we recommend that you mask it.
Step # 3 – Mask the Helmet
You can use paper material to mask the inside of your helmet. It will help you avoid getting any paint on the insides.
You will also be able to avoid any unwanted stains on your helmet this way. To hold the paper in place, we recommend that you use masking tape.
Apply it on the edges and then attach the newspaper to it.
Step # 4 – Sand the surface
Then, you have to sand the surface of your gear. You can use sandpaper for this. This step is, however, completely optional.
What are the benefits of using sandpaper?
It will help remove any stains or previous paint. The paint will also settle more quickly on a sanded surface.
After this, you can move to safely apply designs and paint on your headgear.
Step # 5 – Make your Design
You need to grab a pencil and make a rough sketch of your drawing. Helmets have curved surfaces, so you might want to make several attempts before you finalize it.
You can also use a stencil for this step. These will make the design easier for you.
When you have made a skeleton of your diagram, you must cover the edges with tape. Masking the areas where you don’t want any paint will help you avoid any unnecessary stains.
Step # 6 – Apply the Primer
The first step to complete when you start to paint is to apply the primer. Be sure that you apply multiple coats of primer.
We recommend that you don’t apply more than 3 coats of primer. However, make sure that the paint dries off completely before applying the next coat. It can take 20 minutes between the coats to dry off completely.
Make sure that you don’t apply the paint beyond where you have applied the tape. The paper can absorb primer and this can stain the base of your helmet.
Step # 7 – Apply the Paint
You can use a spray gun or an aerosol can for this part. If you want to use a spray gun, you will have to mix several paints. If you have an aerosol can, you just have to shake the can. Be sure that you have enough paint so that you can apply 2 to 3 coats of paint.
Apply the paint according to your drawings. We recommend that you start away from the center of the helmet and apply the paint at a constant speed.
You don’t want to stop between the process as it may disturb the rhythm. After you have applied the coats, you have to wait for the paint to dry completely. It can take about 1 to 3 hours to completely dry.
Step # 8 – Add the clear coat
Lastly, you have to apply a clear coat to your helmet. This additional coat over the paint helps the helmet retain its shine.
We recommend that you use a urethane coat to ensure a glossy finish. It also locks the colors beneath the clear coat. It will take about 20 minutes to dry.
Step # 9 – Reassemble your helmet
In the end, you have to put together your helmet. Start with the tape and the masking. Then, reapply the visor and the screws. Also, make sure that the chinstrap is in place.
When that’s done, you can wear your helmet and use it on the road.
Is It Safe if I Paint Over My Helmet?

Yes, paint isn’t only for aesthetic purposes. You also simultaneously increase your safety when you apply paints over your headgear.
If you use noticeable colors, you will increase your visibility on the road. We don’t recommend that you use darker colors. Drivers may have a hard time seeing and avoiding you. This is why brighter colors are commonly seen.
However, some paints can also compromise the strength of your helmet. Some paints have chemicals that harm the structure of your headgear.
Hence, it is always recommended that you speak directly with the manufacturer. Information is also available on the paint can.
Wrapping things up
You can customize your headgear in a variety of ways. You can paint over the surface and come up with excellent ideas.
However, you have to be careful if you want to avoid any unnecessary stains. You can do this by following our guide step-by-step.
With this, we reach the end of our article on “How to paint a motorcycle helmet?”.
Please reach out and tell us what you think.

