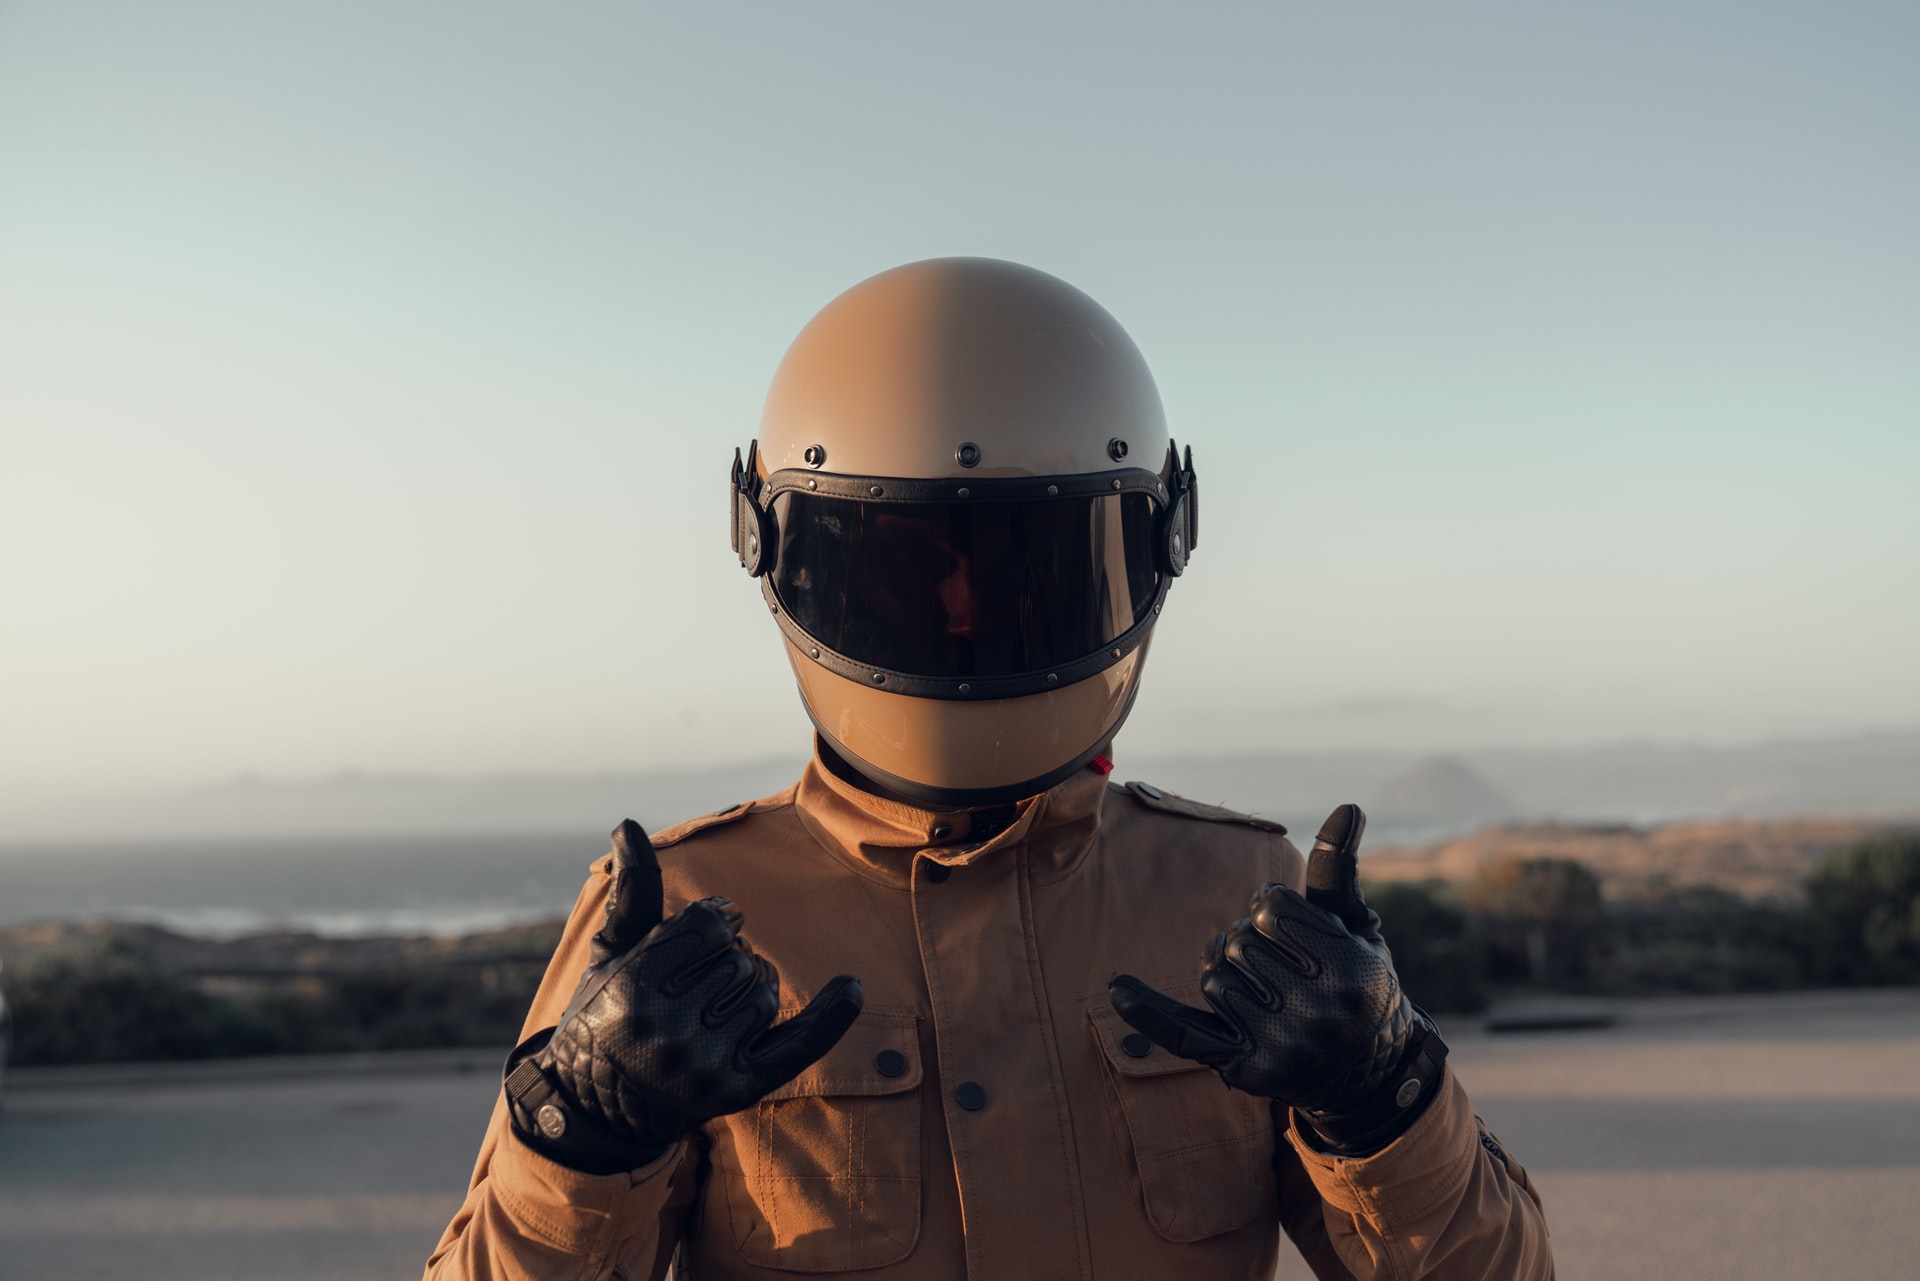
A visor is a transparent and moveable part of the helmet that is pulled down to protect the rider’s face.
Generally, visors are transparent, but riders do like to tint their visors to match their gears or to make helmets more personalized.
If you want to give your old visor a new look, tinting your visor can be a good option.
This post has a complete list of instructions on how to tint your motorcycle helmet visor without the help of a professional.
Quick Summary
In this post we will discuss:
- How can a motorcycle visor be tinted at home?
- What are a few tips to achieve a professional result?
- Frequently asked questions (FAQS)
So without further ado, let us get started.
How to Tint a Motorcycle Helmet Visor?
A transparent visor looks good generally, but if you have a specific theme in mind for your gear or helmet you will have to get your visor tinted. It can be costly at times.
A simple, transparent visor does not look as attractive as you thought in your head. Hence the need to tint the visor arrives.
Stated beneath is a simple DIY to tint your visor without buying any expensive dye kit.
Tools needed for the DIY process
To perform this easiest and shortest hack to tint plain visors you will need,
- A pot
- Water
- Liquid dye
- Visor
- Gloves, and glasses
- Pair of tongs
- Wet wipes
Step 1: Safety Measures
Wear gloves and glasses throughout the process. This will prevent you from accidental cuts and bruises.
Step 2: Clean The Visor
This is one of the most important steps because the result of the process depends upon it. Take a wet wipe and clean the visor properly. Repeat the process twice to make sure the visor is clean and no debris or dust is left on it.
Step 3: Boil Water
Put water into the pot and boil it. Now add almost 2 tablespoons of the liquid dye it.
Step 4: Dip the Visor
Now take your visor and dip it in the water. Allow it to sit for 25 seconds and then pull out the visor with the help of tongs.
Step 5: Check The Shade
Check if the shade is according to your liking. If not, dip the visor again in the pot and let it sit for another 25 seconds. Repeat the process until the desired result is achieved.
Step 6: Cool The Visor
Once done, let the visor cool down but place it carefully, not facing downwards or it will entrap tiny oxygen bubbles on the visor.
Tint Sticker Sheet
Tinted sticker sheets are also available on the market these days. These come in one single sheet form in various color options example light blue, yellow, red and etc. It is easy to attach to the visor or other parts of motorcycle helmets.
You would find stickers challenging to use because it requires great precision, fine cutting, and oxygen bubble-free sticking.
So unless you are a professional with a pair of scissors and a lot of patience we shall recommend you to stick to the DIY tint.
Are visor tints peel-off?
No, any tint from the visor cannot be peeled off. It has to be re-tinted or re-dyed.
Can you dye a plastic visor at home?
Yes, plastic visors can easily be tinted at home.
Can you use food coloring dye to tint your visor?
No, food coloring dye will only temporarily adhere to the visor. The results will not be long-term or satisfactory.
Can you use fabric dye to tint your visor?
Yes, plastic dyes have shown great results when used to tint visors.
Which color visor is the best?
The yellow color visor is the best as it works best on cloudy days.
Final Verdict
Now that we have reached the end of this guide, we hope it’s easy for you to understand how to tint your motorcycle helmet visor.
We understand that the steps might seem extensive, however, it’s not as difficult as you might if you follow the instructions carefully.
Read this guide for a complete overview and if there’s anything further you would like to know, do let us know in the comments.
CLICK HERE to learn more.